How to Connect Apple Pencil to iPad: Step-by-Step Guide
Connecting an Apple Pencil to your iPad is quick and easy. Just follow the steps below based on your Apple Pencil model.
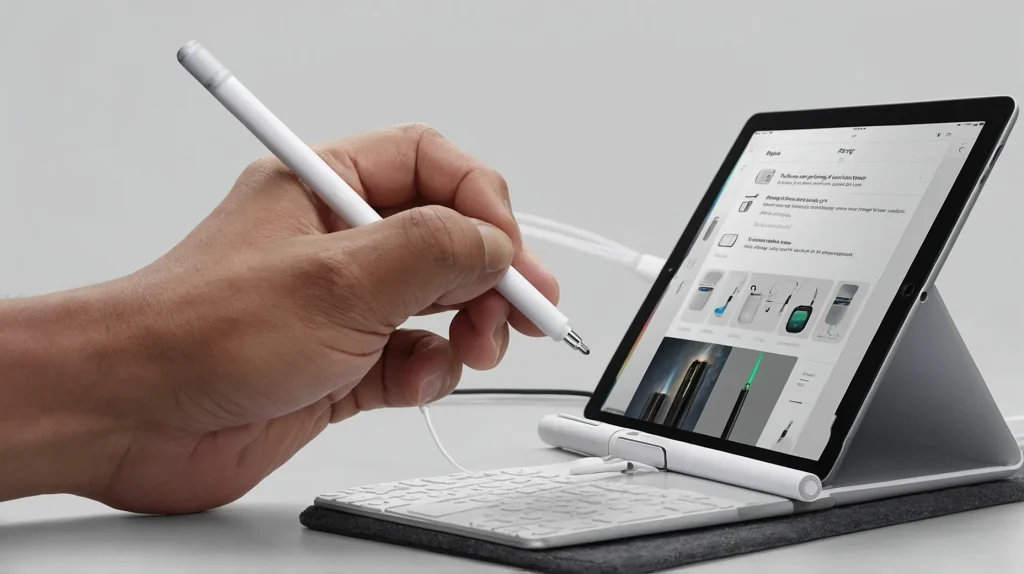
For Apple Pencil (1st Generation)
Works with:
- iPad (6th–9th Gen)
- iPad Air (3rd Gen)
- iPad mini (5th Gen)
- Older iPad Pro models (with Lightning port)
How to Connect:
- Remove the cap from the Apple Pencil.
- Plug it into the iPad’s Lightning port.
- Tap “Pair” when prompted on the screen.
That’s it—your Pencil is now connected.
Reconnecting:
Just plug it in again. No need to repeat the pairing step unless you restart or unpair.
For Apple Pencil (2nd Generation)
Works with:
- iPad Pro (2018 and newer)
- iPad Air (4th Gen and newer)
- iPad mini (6th Gen)
How to Connect:
- Place the Apple Pencil on the magnetic strip on the side of your iPad.
- Wait a second—a pairing prompt will appear.
- Tap “Pair” to connect.
This also charges your Pencil wirelessly.
Reconnecting:
It automatically reconnects when attached magnetically.
Troubleshooting Tips
- Bluetooth must be ON: Go to
Settings > Bluetoothand toggle it on. - Restart your iPad if pairing doesn’t appear.
- Make sure your iPad model supports the Pencil version you’re using.
- If it still won’t connect, unpair it via
Settings > Bluetooth > Tap (i) > Forget, then retry.
Conclusion
Pairing Apple Pencil with iPad takes seconds—either by plugging it in (1st Gen) or attaching magnetically (2nd Gen). Once connected, you’re ready to draw, write, or navigate smoothly.