How to Screenshot on Chromebook: A Complete Guide
Taking a screenshot on a Chromebook is fast and easy, whether you want to capture the entire screen, a specific window, or a selected area. This guide walks you through every method available on a Chromebook to take screenshots like a pro.
1. How to Take a Full-Screen Screenshot on Chromebook
To capture your entire screen:
Press:Ctrl + Show Windows key
(The “Show Windows” key looks like a rectangle with two lines next to it, usually above the number 6.)
Your screen will briefly dim to confirm the screenshot is taken.

Where it’s saved:
The screenshot will be saved in the Downloads folder and show up in the Screenshots section of the Files app.
2. How to Screenshot a Specific Portion of the Screen
To take a partial screenshot:
Press:Ctrl + Shift + Show Windows
Your cursor will turn into a crosshair. Click and drag to select the area you want to capture. When you release the mouse, the screenshot is saved.
This is perfect for grabbing only what you need without cropping afterward.

3. How to Screenshot a Specific Window
To screenshot a specific app window (Chrome tab, settings window, etc.):
- Press
Ctrl + Shift + Show Windows. - Select the window icon from the toolbar that appears at the bottom.
- Click the window you want to capture.
This method is great for focused screenshots without background distractions.
4. How to Use the Screen Capture Tool (Chrome OS 89+)
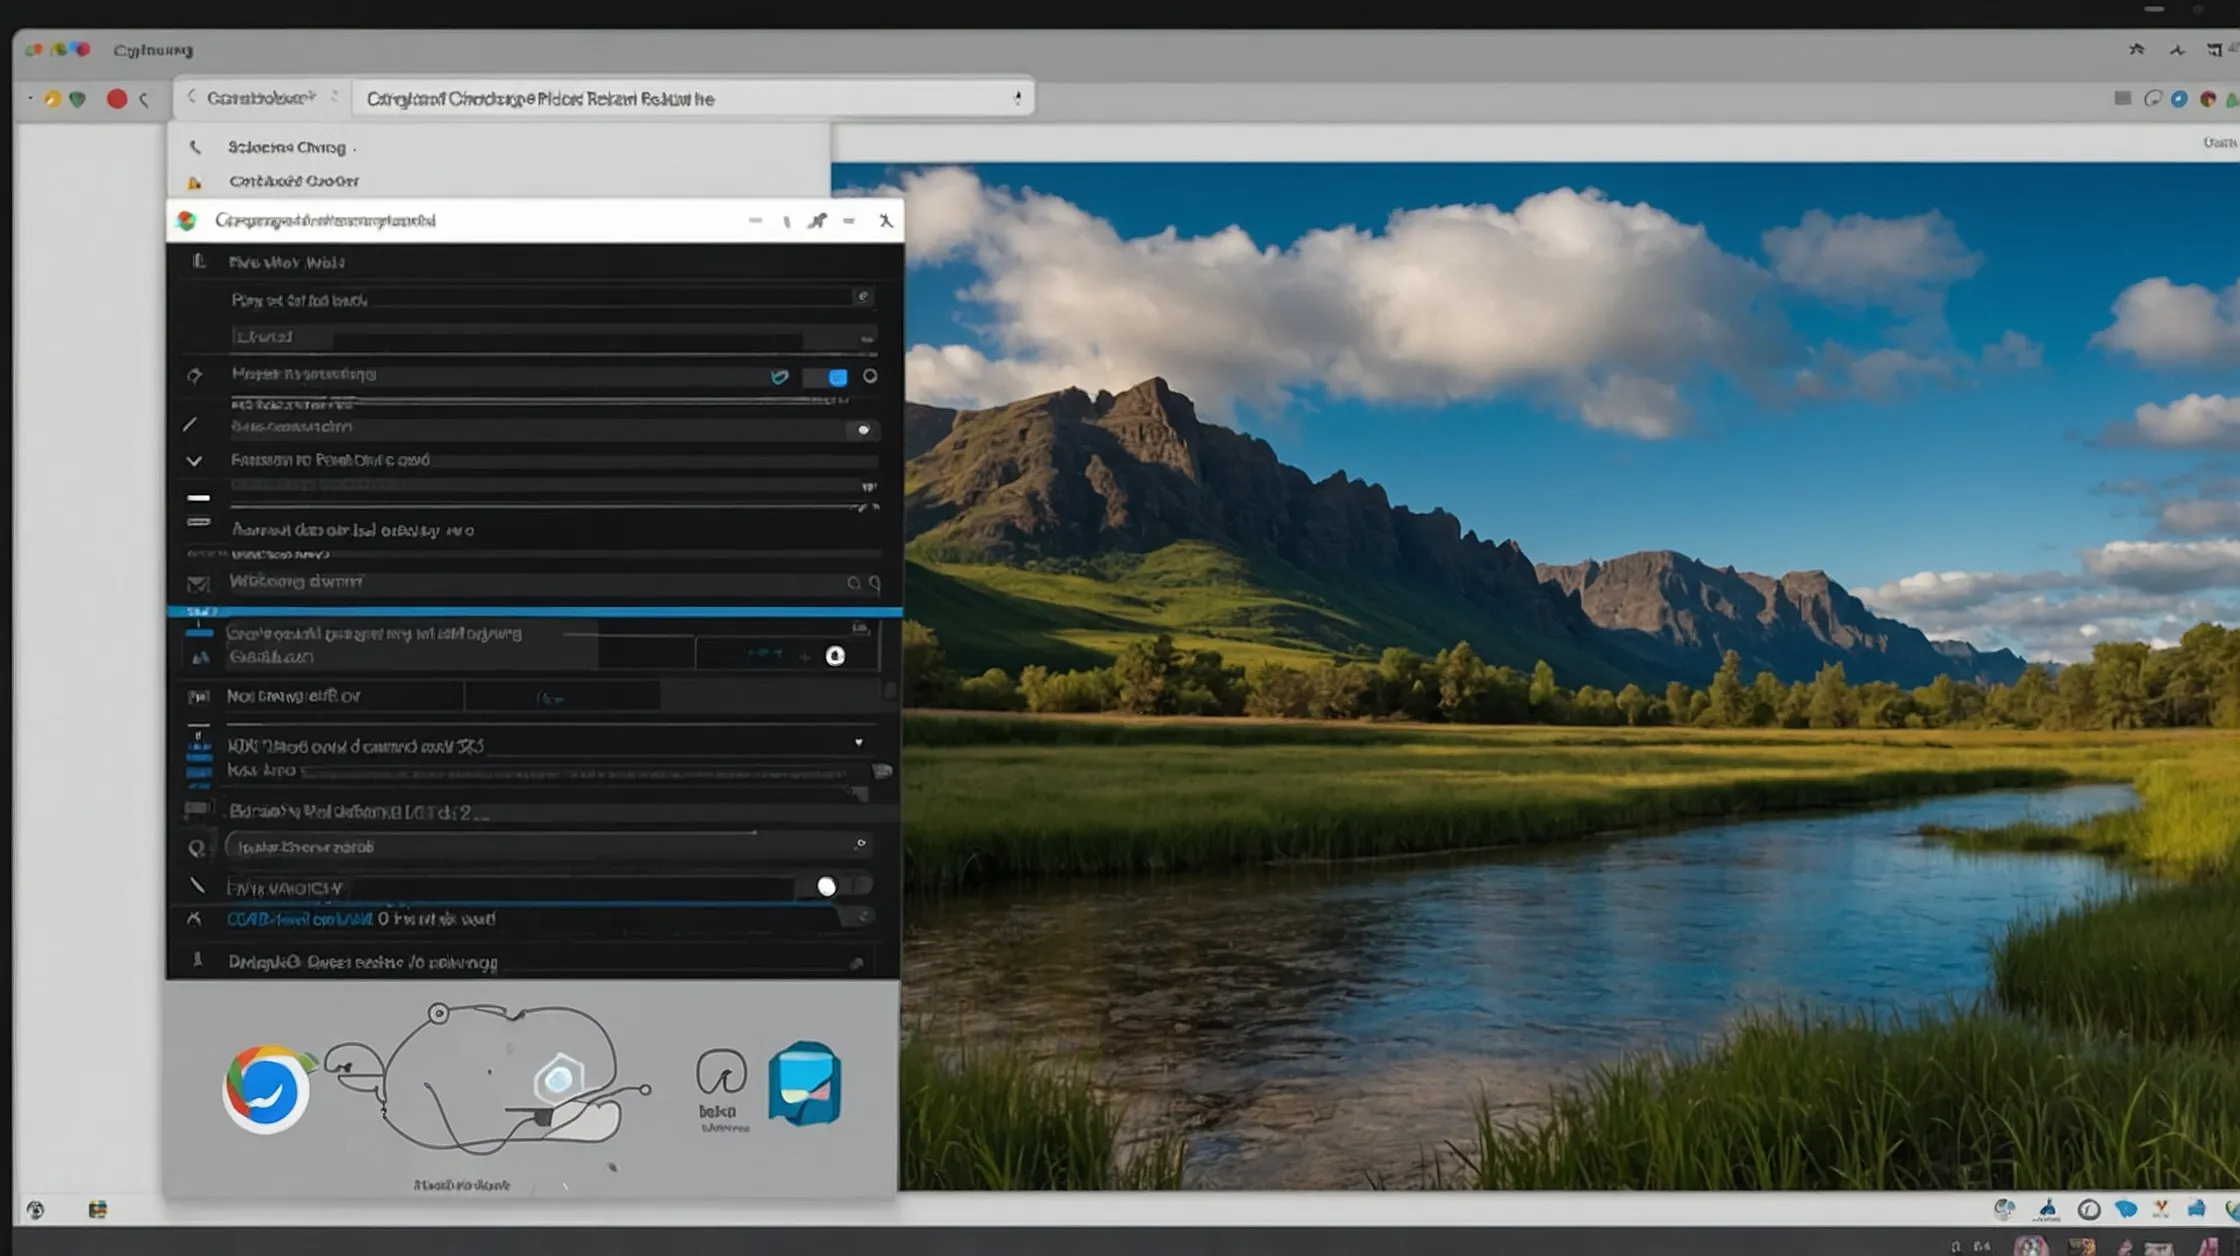
If you’re using Chrome OS version 89 or later, you have access to a built-in Screen Capture Tool:
Steps:
- Click on the time in the lower-right corner to open the Quick Settings menu.
- Click the Screen Capture icon (camera or scissors icon).
- Choose from:
- Full screen
- Partial screen
- Window capture
You can also switch between screenshot and screen recording.
5. How to Take a Screenshot with a Chromebook Keyboard Shortcut (Tablet Mode)
If your Chromebook can convert to tablet mode:
Press:Power + Volume Down buttons (just like on Android devices)
This will instantly capture the full screen in tablet mode.
6. Using External Keyboards (Non-Chromebook)
If you’re using a non-Chromebook external keyboard that doesn’t have a “Show Windows” key:
Replace it with the F5 key, which functions similarly.
Example:Ctrl + F5 = Full-screen screenshotCtrl + Shift + F5 = Partial screenshot
7. Accessing and Managing Screenshots
Once your screenshot is captured:
- Check the Downloads folder: All screenshots are saved here by default.
- View in Files app: Open the Files app and navigate to “Downloads” or “Screenshots.”
- Copy to Google Drive: You can drag and drop your screenshots into Google Drive directly from the Files app for backup or sharing.
8. Editing Screenshots on Chromebook
Chromebooks come with a built-in image viewer that allows for basic edits:
- Open the screenshot in the Gallery app.
- Click the edit (pencil) icon.
- Crop, rotate, or add annotations.
For advanced edits, consider installing Chrome apps like Pixlr, Canva, or LunaPic.
9. Using Chrome Extensions for Enhanced Screenshot Features
If you need more options like full-page web screenshots or annotation tools, try these Chrome extensions:
- Awesome Screenshot: Capture full-page screenshots, annotate, and share.
- Nimbus Screenshot & Screen Video Recorder: Great for scrolling screenshots and screen recordings.
- Lightshot: Quick, simple, and allows instant editing and sharing.
These tools are available on the Chrome Web Store and integrate directly into your browser.
10. Troubleshooting Screenshot Issues
Problem: Screenshot not saving
Solution: Ensure your Chromebook’s storage isn’t full. Clear space in Downloads or move files to Google Drive.
Problem: Show Windows key not working
Solution: Try restarting your Chromebook or use the screen capture tool via the Quick Settings menu.
Problem: Can’t find the screenshot
Solution: Open the Files app → Check “Downloads” → Sort by date modified.
11. Tips for Taking Better Screenshots
- Close unnecessary tabs or apps to reduce clutter.
- Use partial screenshot mode for precision.
- Rename files immediately to stay organized.
- Use keyboard shortcuts to save time.
- Always keep your Chrome OS updated for the latest features.
Conclusion
Taking a screenshot on a Chromebook is quick and simple with multiple methods tailored for different needs. Whether you’re capturing the full screen, a specific window, or just a portion, Chromebook gives you all the tools needed without extra software. With built-in features, keyboard shortcuts, and Chrome extensions, screenshotting is now more convenient than ever.
Now that you know how to screenshot on a Chromebook, try it out and boost your productivity instantly.

